Showing posts with label crafts. Show all posts

Monday, June 9, 2014

The Grand Opening!

*Deep breath.*

Today is the day I officially open my etsy shop!


I'm super excited to finally have gotten this up, it took a lot longer than I was expecting it to. I had a hard time getting the t-shirts to sell, and when I finally was able to stock up on them... I found out that polyester doesn't bleach.

At all.

I bought $60 worth of nice, fitted, black tees, and not one of them was bleachable because they were all polyester! Who knew black wouldn't bleach? And I'm talking lots of bleach--that shirt was dripping with the stuff. And it didn't even fade. Not even a little.


Anyway!

Before we get started, I have a new page over on the right hand side bar. It will inform you that I am now accepting commissions for drawings that you might like to have me do. Do click it. It will give me great pleasure.

There is now merchandise in my shop, so if you want to go over there and take a look-see, click the link below!


What you can expect to see in the shop are these:


And copies of my art...

Currently listed:

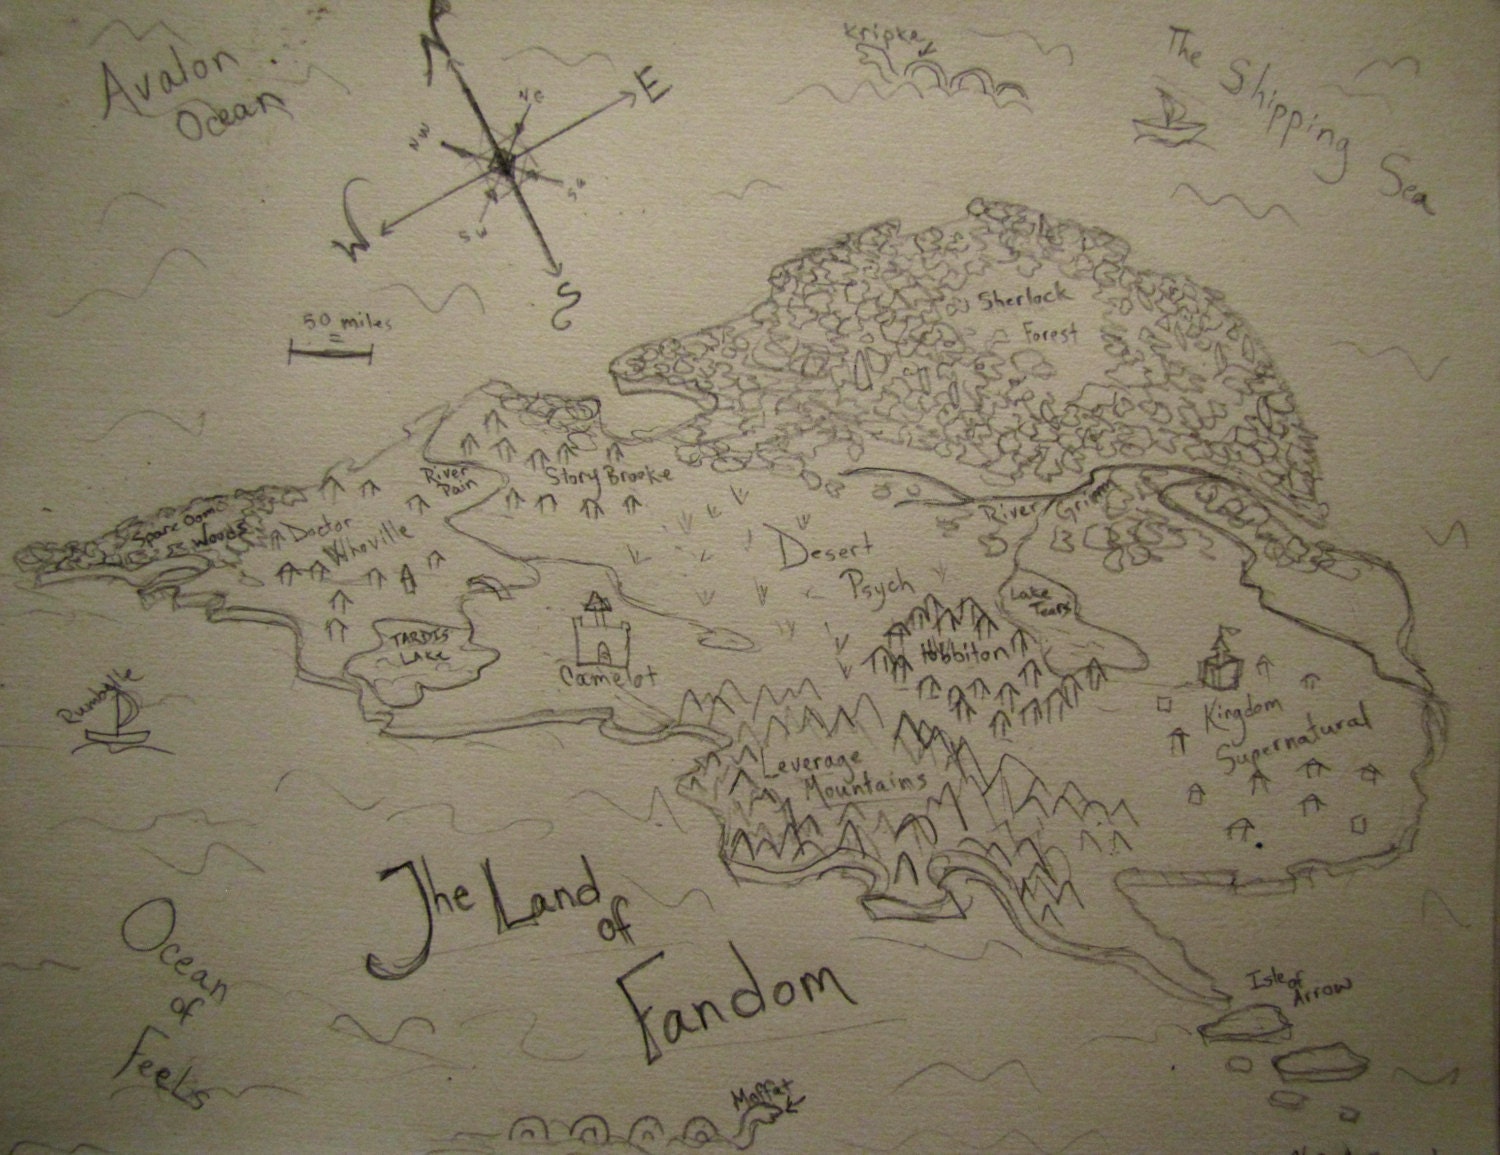
Custom Made Fandom Maps
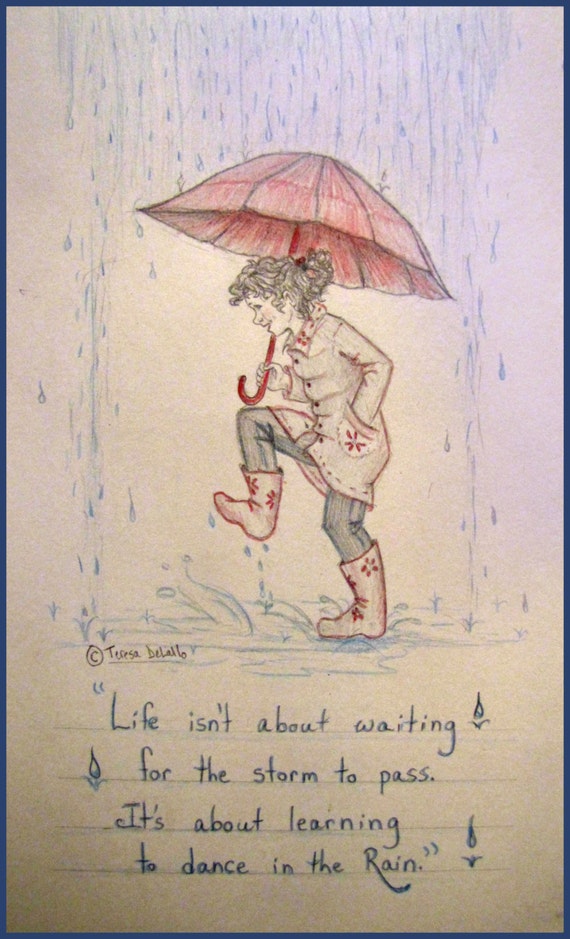
Rainy quotes:
Custom drawn character sketches

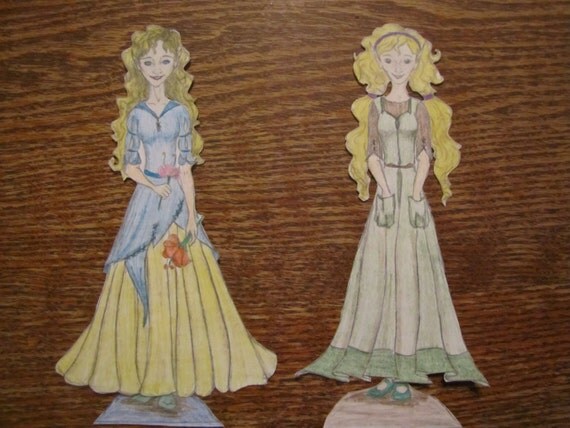
And custom made paper dolls!
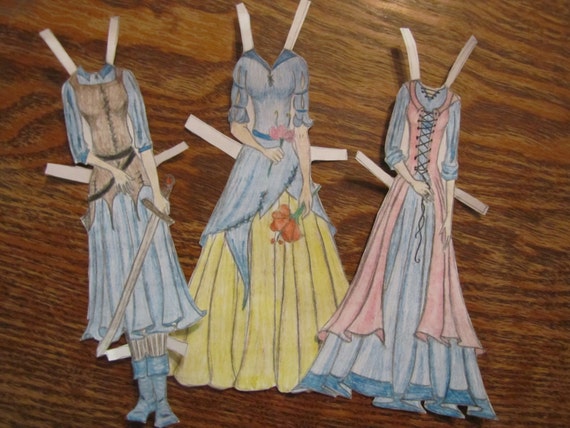
I'm also going to be adding greeting cards which I will have drawn and put together, but because my little shop is only just starting, I'm still working on that.

Go on over, take a look! Spread the word! And if there's anything you think I could improve on, do let me know.

Oh, and if any of you could help me think up a better name for my shop, I could be most grateful. It's just Miscellany right now, and I don't like it much.

My blog is going to be under construction for the next week or so. I want to give it a face lift, so.. bear that in mind. :)

Thank you all for taking the time to read me.... self-promoting.

Cheers and God bless!

Treskie


Saturday, October 19, 2013

DAY NINETEEN

A song from your favorite album

Hallo. Today is yet another day of the never ending challenge. 


And I'm choosing: Now or Never by Josh Groban
Because Josh is always the most awesome.

"And it's no one's fault
There's no black and white


Only you and me
On this endless night


And as the hours run away
With another life


Oh, darling can't you see
It's now or never
It's now or never


I love that song! It's so pretty and so sad. *sigh*


...... I get so distracted doing posts when I'm watching something at the same time. 

Like now, I'm watching Leverage. 

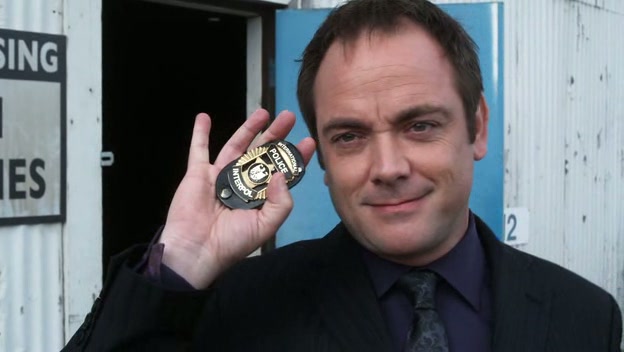
And every time this guy shows up:


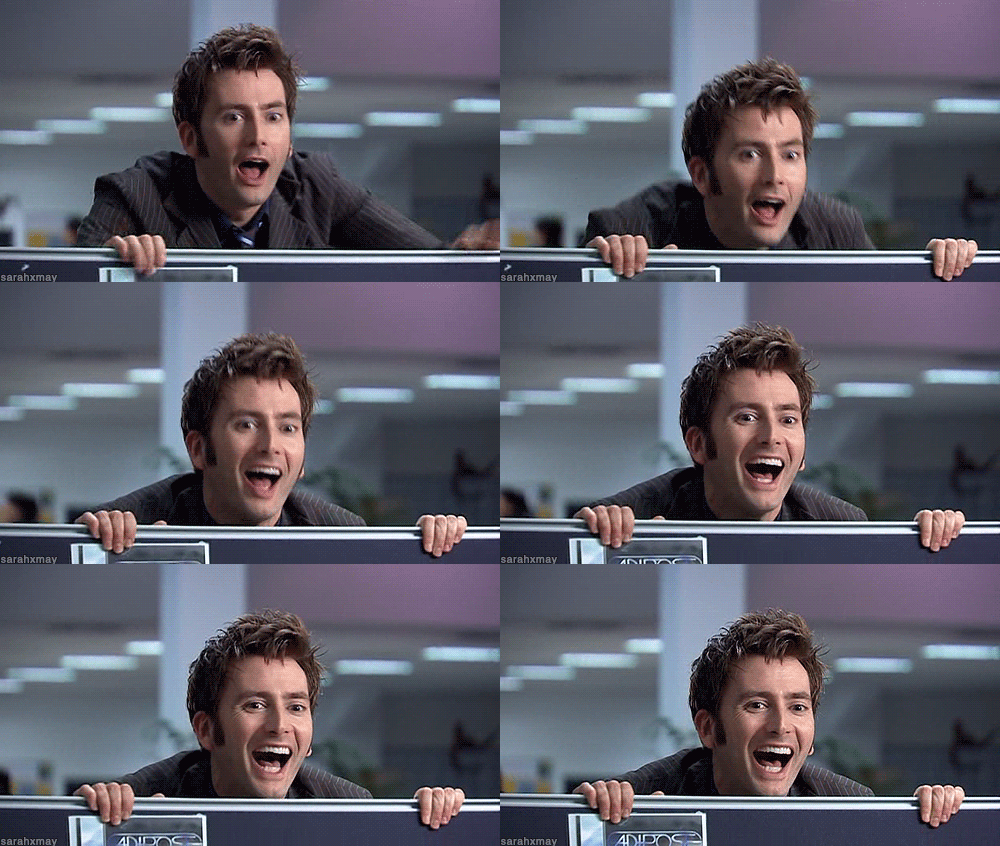
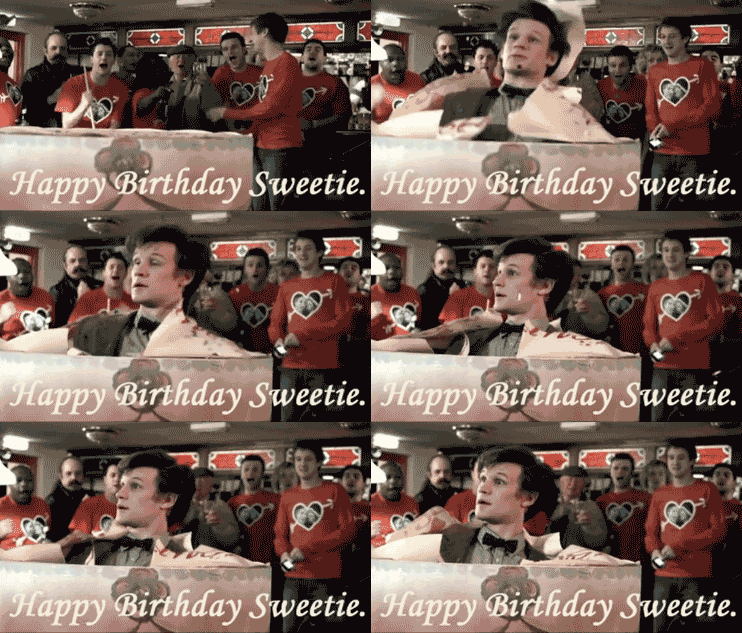
I do this:


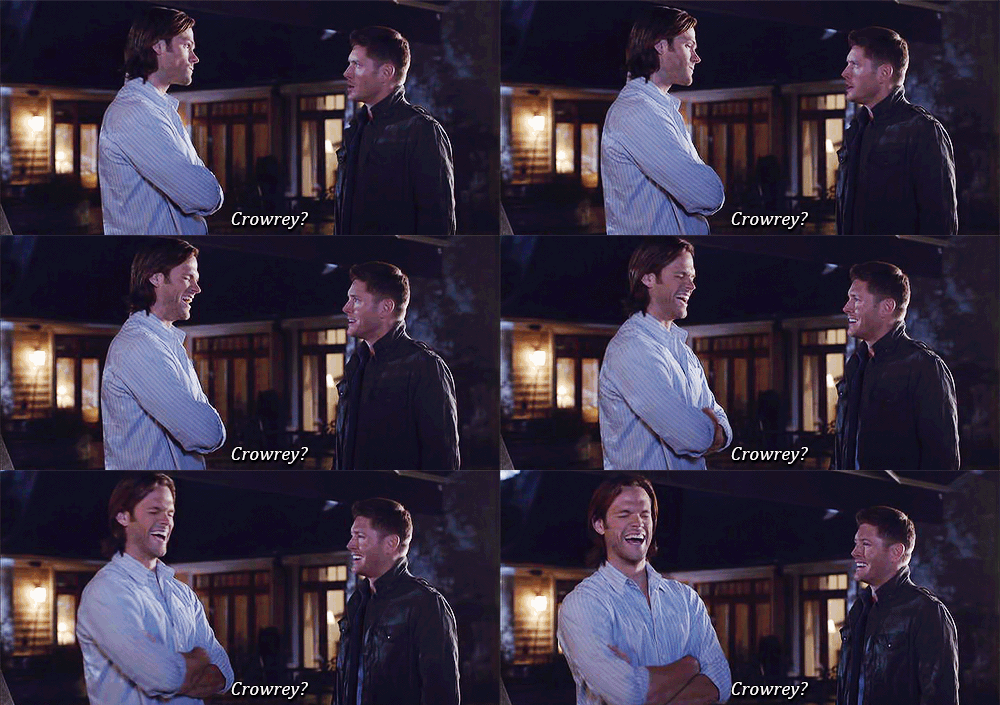
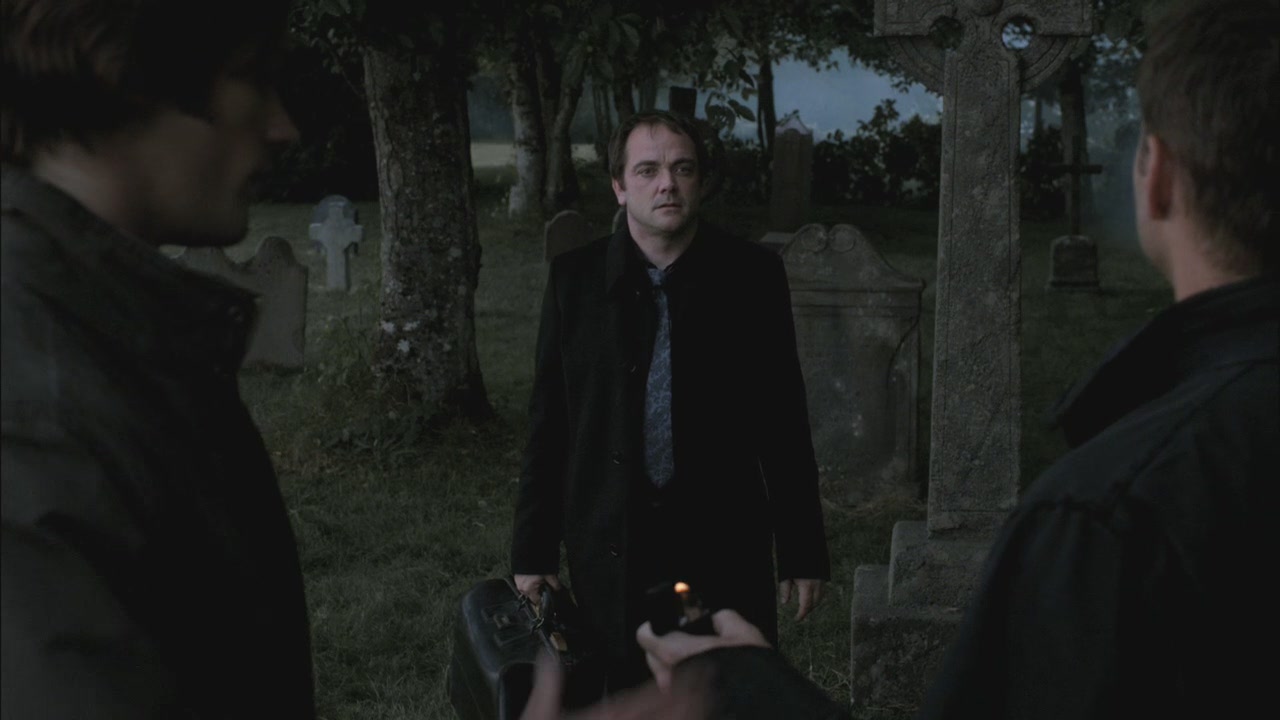
Because Stirling is Crowley on Supernatural. 

Leverage

Supernatural

And I cannot help myself. 


I made a cool bookmark today. I'm rather proud of it.


I also got a package in the mail. It was burdened with glorious pressies!!


Happiness is a pressie in the mail. Seriously. 
Sorry for the randomness. 

Cheerio!


Monday, September 16, 2013

A tutorial!!

Well hey!

Righty, so I've had a couple of requests to do a tutorial on how to draw a face in profile. I'll be honest, I am not sure how good my tutorials are. But I shall do my bestest, and you guys can let me know if you prefer them this way or as videos. Okay?

Here we go.

1.) Start with this. It's kind of a backwards P I guess. The length of the top should be a little more than half the length of the bottom one.


2.) Add the jaw line first. It should only come about halfway across the face, slanting up a little.  The back of the neck connects to the back of the skull, and the front should start... just about halfway up the jawline. 


3.) Add the guidelines for the eyes, nose and mouth. The eyes are about halfway down the face. The nose is usually about midway between the eyes and the jaw, and the lips.... huh. Are about halfway between the nose and the jaw. Gosh! I didn't realize how I measure everything by halves like this!


4.) Add the nose. It should come in right about where the eyes are and then slant out. Bring it all the way down to its guideline.


5.) Add the lips. Um... The bottom lip is fuller than the top lip and is usually a little behind.


6.) Add the eyes and the nostrils. Hehe. Nostrils. It's a weird thing to say. Anyway! The eye is basically a forty-five degree angle. Or a bird's beak. whichever you prefer. The nostril is.. a rounded checkmark. 


7.) Add the ear. It should be just above the back of the jaw, and reach from the bottom of the eye to the bottom of the nose. It's shaped a little like a backwards question mark, which a backwards capital J inside. See?


8.) Erase the extra guidelines and add a little definition to the nose and lips. The nose.. is just a line to give depth.


9.) Draw a slightly crooked line for the eyebrow, and color in the eye, leaving a bit near the front white, for that realistic shine. *grin*


10.) Add the outline for the hair. 


 11.)  Begin shading.


12.) Aaaaand fill it in. (I usually add a few sticky up pieces of hair right behind the part.. you know, cowlicks.)


Laaaa! You're done! I think... that's.... that's about as simple as I can make it when I'm just doing pictures and trying to explain what I do.  I think I am not that great of a teacher. lol. 

Let me know how it works if you try it though, yeah? 

OOH! It is Jonnah's birthday today! Happy birthday, m'girl! Hope it rocked. 


Cheers and God bless, guys. 


Wednesday, August 21, 2013

Behold the geek!

Hehe.

Has anyone but me noticed that T-shirts are way  overpriced when they have any sort of logo on them? It's ridiculous! Normal, unadorned T-shirts are maybe five dollars? But add a single logo.... like a TV show symbol or, and the price jacks up to like fifty dollars a pop. 

Who does that?!

It's a freaking T-shirt for crying out loud! Sheesh!

So, I came up with a solution to this-- well technically, someone on pinterest did, and then my cousin did it, and I stole the idea. 

One word. 

Bleach. 

Bleach can make some of your fangirly dreams come true!

Right. For this project you will need:

*A dark colored T-shirt, or hoodie, or whatever you want transform into geeky awesomness. (I got mine for $1.99 at Michaels)

*Bleach. (Maybe a touch watered down.) And something to spray it with. (NO laser spraying! A nice, gentle fuzzle will do perfectly. I used a Windex container.)


*A template of the logo you want. 


*Straight pins. For pinning the logos. Duh.

RIGHT!

So you're going to want to cut out your template and pin it flat to the shirt. 


Grab your spray bottle of bleach, and take your shirt outside (or somewhere, where if the bleach gets out of control, nothing will be damaged.)


Aim and spray. (I put a piece of paper behind the.... the.... the neck hole (I know it has a real name, I just can't remember it right now), so the back of the shirt wouldn't get bleached.)


Unpin the templates, and WATCH THE MAGIC HAPPEN!!!!!!!!!!!!!!!!!!!!!!!


It's dead easy. It's cheap! And It's fast, so that's lovely.

I need to figure out one to do for Supernatural. (I don't want to go around wearing a Devil's Trap symbol on my front. That could be awkward to explain.)

I made them yesterday.....Guess what I'm wearing today?